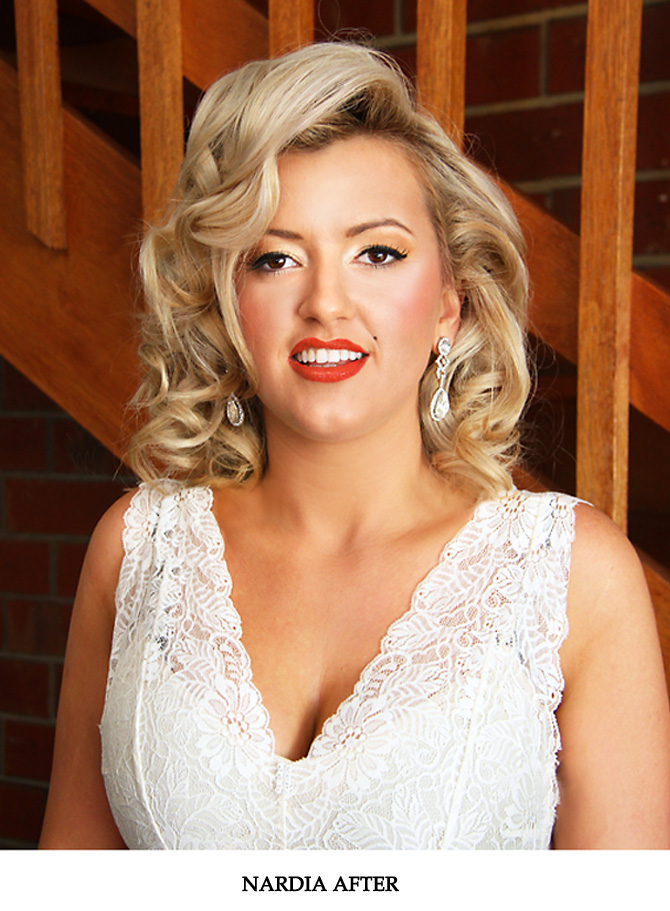
I recently completed a Hairstyling (not cutting or colouring) course over five weeks, through Paint Makeup School. I gained insight, experience and advice on how to create a wide range of different looks, using a multitude of tools and techniques. Below are examples of my work that I created throughout the course, including photographs of my final exam toward the end of this blog post. I hope you enjoy looking through them!


Sleek Half Upstyle
 |
|
High Genie Bun

Experimenting with Hair fillers

Sleek Mid Upstyle

Braided Low Upstyle

Conical Curl Loose Upstyle

Sleek Cross-Over Upstyle

High Chignon using a ball of wool

Braided Low Bun

Elegant Side Upstyle

EXAM NIGHT
For my final exam, we had to create three different hairstyles within allocated amounts of time. The first style we had to create was a "downstyle" and we were given just half an hour to complete this style. One of my favourite styles of all time is the classic Hollywood waves with a deep side part (see examples below). The finished look is elegant, feminine and polished.
 |
| Hollywood Waves |
Style # 1 - Downstyle
My beautiful model, Lauren, looked stunning with her hair pulled down to one side. I created this look by using a barrel tong to curl the entire head, pinning the curls in place whilst still hot and removing them when completely cool. The curls were done in a specific pattern to ensure they all swept to one side smoothly. I then gently brushed through the curls to soften them, and twirled the strands together with my fingers, setting it in place with some hairspray and shine spray for added gloss.

Style # 2 - Bridal Style
For our second style, we had to create a bridal look in 45mins. I wanted to create a style that was elegant and timeless, and something that would perfectly complement a bridal headpiece I had created by hand.
I started out by sectioning Lauren's hair, which thankfully already had lovely curls from the previous style, saving me some time. On the left side just above the nape of her neck, I tied a small section of hair into a ponytail, teased it to give me something to grip the rest of the hair into, and pinned it into a small messy bun. From this point, I grabbed small sections of hair at a time, carefully pinning them into and around the original bun. For the crown section, I teased it to give it a bit of extra body, and then smoothed out the top section before pinning it into the rest of the hair. There were small sections left out on either side at the front that I then wove over the top of the style to cover up any pins and soften the overall look.
 |
| Bridal Style - Without Headpiece |
And here is the same bridal style, but with the headpiece that I created by hand-beading a variety of pearls, crystals and seed beads to some filigree lace. This headpiece is available for purchase on the Perle Website.
 |
| Filigree Lace & Beaded Haircomb - $142 |
Style # 3 - Style of your choice
For our third and final look, we had complete freedom of choice. We were given no guidelines, other than a time limit of 1 hour to create it. This final look was going to be professionally photographed, so we had to plan what hairstyle we wanted to do, as well as consider the outfit, accessories and makeup we were going to use to accentuate the hairstyle.
I really wanted to extend myself for this final look by creating something more sculptural, not necessarily a style that would be worn out to an event, but something that was more suited to an editorial photoshoot or fashion showcase. I wanted to create a sleek and stylised hairdo that had lots of body, shape and commanded attention. My overall vision was to create a photograph that oozed richness and sophistication- a look that was poised and regal. Right down to the jewellery that I selected (also available on the Perle website) and the glamorous makeup, Lauren looked fit to take over the royal duties from the Queen.

To create a style of this magnitude, obviously some substantial hair fillers were involved. I started by tying the back section of her hair into a mid-high ponytail, and placing the hair donut around the ponytail. I then smoothed the top crown section over the filler, and pinned it in place at the bottom of the donut. From there I grabbed small sections at a time from alternating sides, and pinned them into opposite sides of the bun to create a woven look. With the two front side sections, I crossed them over each other at the top of the crown, and pinned the ends in loop formations on the side of the bun to finalise the look.
 |
| Royal Navette Necklace - $42 |

The look I had in mind for Lauren's makeup was to create something golden and peachy, with the main emphasis on her beautiful big blue/green eyes.

I really love getting the opportunity to consider, plan and create the entire look, from makeup to jewellery, and now hair as well. I love to use all three elements (or four, if you include the outfit) to create an overall look that has been carefully & creatively thought through, to enhance and accentuate the best features of my individual clients.
If you want to receive some special pampering and outfit advice from me for your next big event, wedding, or photoshoot, I would love to hear from you!
Send me an email to: perlejewellery@hotmail.com
A HUGE THANK YOU to my gorgeous models who generously offered up their time (and their locks!) to assist me each week:
To Heidi, Michaela, Emily, Melanie, Nita, Emma & Lauren (and I must make special mention of my mannequin model Gwen), thank you so much for allowing me to tease, comb, curl, spray and style your hair!


Hair, Makeup, Photographs & Jewellery all by Katie Dawson from Perle Jewellery & Makeup. © 2013


.jpg)